How To Attach A Trellis To A Brick Wall
Attaching a trellis to a brick wall is a practical and stylish way to add vertical interest, support climbing plants, and enhance the aesthetics of your outdoor space. Whether you're looking to create a green wall or add decorative elements to your brick facade, knowing how to properly attach a trellis is crucial for a secure and long-lasting installation. In this blog post, we'll provide a step-by-step guide on how to attach a trellis to a brick wall, ensuring a sturdy and attractive result that elevates your garden.
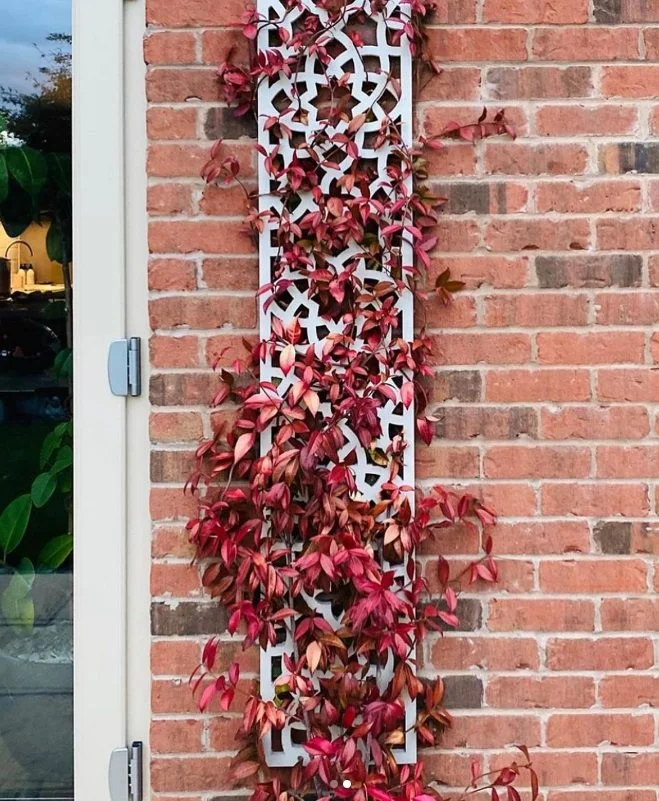
Choose the Right Trellis: Before you begin, select a trellis that complements your brick wall and meets your design preferences. Trellises come in various materials such as wood, metal, or composite, and in different styles and sizes. Consider the overall aesthetic of your garden and the climbing plants you intend to support when choosing the right trellis for your project.
Measure and Mark: Start by measuring the area of the brick wall where you plan to attach the trellis. Use a tape measure to determine the width and height of the space, as well as the desired placement of the trellis. Mark the positions for attaching the trellis on the brick wall using a pencil or marker.
Locate Studs or Anchors: To ensure a secure attachment, it's essential to locate the studs or anchors within the brick wall. You can use a stud finder or a hammer and small nail to tap along the wall and listen for a solid, hollow sound. Once you've located the studs or anchors, mark their positions on the wall.
Drill Pilot Holes: Using a masonry drill bit slightly smaller than the diameter of the screws or wall plugs you'll be using, drill pilot holes into the brick wall at the marked positions. Be sure to drill into the mortar joints between the bricks rather than directly into the bricks themselves, as this will provide a more secure attachment.
Attach Wall Plugs or Anchors: If your brick wall does not have studs or anchors, you'll need to use wall plugs or anchors to provide additional support for the trellis. Insert wall plugs or anchors into the pilot holes, tapping them gently with a hammer until they are flush with the surface of the wall.
Position the Trellis: Place the trellis against the brick wall in the desired position, aligning it with the markings you made earlier. Use a spirit level to ensure that the trellis is straight and level before proceeding with the installation.
Secure the Trellis: Once the trellis is positioned correctly, use corrosion-resistant screws or masonry screws to attach it to the brick wall. Drive the screws through the pre-drilled pilot holes in the trellis and into the wall plugs or anchors, using a screwdriver or drill.
Add Additional Support (Optional): For larger or heavier trellises, consider adding additional support to ensure stability and prevent sagging over time. You can attach wooden or metal posts to the wall and trellis for added reinforcement, using screws or brackets for a secure attachment.
Finish and Maintain: Once the trellis is securely attached to the brick wall, step back and admire your handiwork! Check for any loose screws or anchors and tighten them as needed. If desired, you can stain or paint the trellis to match your brick wall for a cohesive look. Regular maintenance, such as inspecting for damage and cleaning, will help prolong the life of your trellis and wall attachment.
Attaching a trellis to a brick wall is a straightforward process that can dramatically enhance the beauty and functionality of your outdoor space. By following these step-by-step instructions and choosing the right materials and methods for your project, you can create a sturdy and attractive trellis installation that supports climbing plants, adds vertical interest, and enhances the aesthetics of your garden. So grab your tools and get ready to transform your brick wall into a stunning green wall with a beautifully attached trellis!
